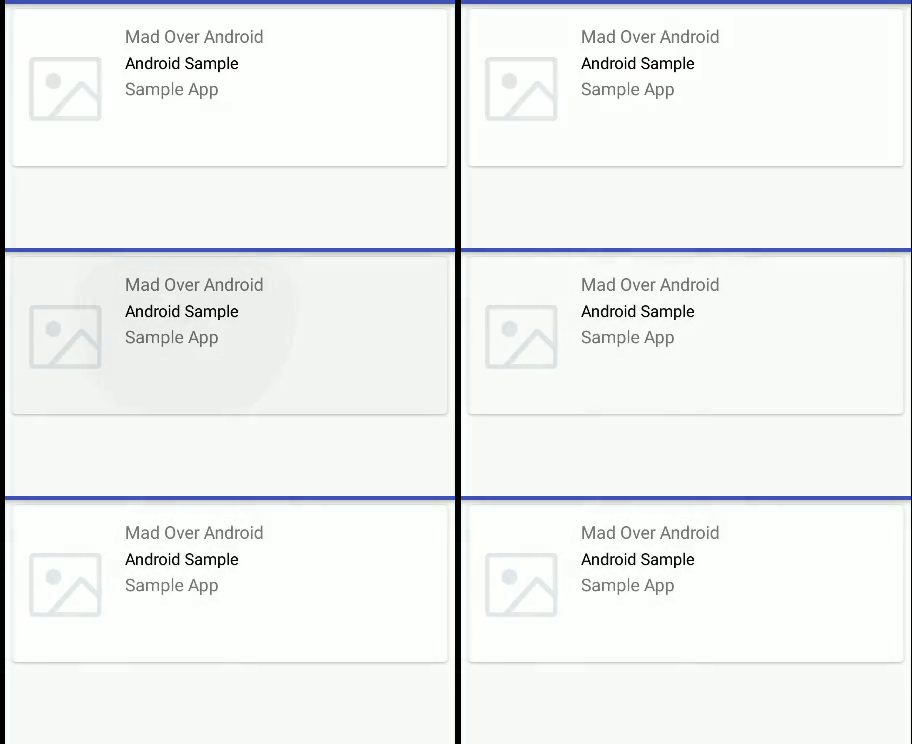
Everyone likes to use the app if it behave like real time object, i.e if user touches any UI element it will have a touched effect behaves like real objects, this is what ripple effect is all about.
Ripple effect was introduced in Lollipop Api 21(Android 5.0), so it work in all devices with Api level 21 and higher.
Ripple effect can be added to any of the view (CardView, Button, Textview, Linearlayout etc)
Two simple ways to add Ripple effect is mentioned below:
1. The simplest way is to add below code in xml file
   android:foreground="?android:attr/selectableItemBackground"
    android:clickable="true"
You can add ‘selectableItemBackground’ to the foreground or background property of the view. If there is a drawable required to be added in the view, you can add the drawable in the background and above property in the foreground.
You can use selectableItemBackground or selectableItemBackgroundBorderless property
For Ripples contained within the view use android:foreground=”? selectableItemBackground ” and for Ripples that extend beyond the view’s bounds use
android: foreground =”?selectableItemBackgroundBorderless”.
Note: If the view is the parent and has a child equal to the width and height of parent then the child will consume the click and ripple effect won’t be visible so add ripple effect to the view in which the click listerner is attached.

2. Another way is to Add ripple in drawable file
For Ripple effect add xml files in drawable-v21, as it will takes file for api 21 n above
Add xml file for ripple effect in drawable-v21/login_button_bg.xml folder
<ripple xmlns:android="http://schemas.android.com/apk/res/android" android:color="@color/rippleColor">
 <item android:id="@android:id/mask" android:drawable="@android:color/white" />
 </ripple>
Ripple color will get applied for ripple effect. The mask layer will not be visible, as at run time, a single layer may be set as the mask using setId(…,android.R.id.mask) or an existing mask layer may be replaced using setDrawableByLayerId(android.R.id.mask, …). If no child layers or mask is specified and the ripple is set as a View background, then ripple will be drawn atop the first available parent background within the View’s hierarchy. In this case, the drawing region may extend outside of the Drawable bounds. So it better to add a mask or a child layer inside the ripple
If needed to add a shape also to the drawable file then add it inside the <item> tag
<ripple xmlns:android="http://schemas.android.com/apk/res/android"
   android:color="#7BB1FF">
     <item>
       <shape
        android:shape="rectangle">
       <solid android:color="#154bad" />
       <corners
        android:bottomRightRadius="4dip"
        android:topRightRadius="4dp" />
       </shape>
</item>
</ripple>
And also add file in drawable/login_button_bg.xml folder (for devices with api level 21 below)
<?xml version="1.0" encoding="utf-8"?>
<shape xmlns:android="http://schemas.android.com/apk/res/android"
 android:shape="rectangle">
 <corners
 android:bottomRightRadius="4dip"
 android:topRightRadius="4dp" />
 </shape>
3. Add ripple effect at run time.
Or if you don’t want to add drawable file in drawable-v21 folder, then at wrap the ripple effect at run time.
Drawable image = getDrawable(R.drawable.login_button_bg);
 RippleDrawable rippledBg = new RippleDrawable(ColorStateList.valueOf(ContextCompat.getColor(context,R.color.colorRipple)), image, null);
 btn.setBackground(rippledBg);
Note: If on click of button if it navigates to some other screen and the ripple effect is not visible then simply put a delay before the method call…
final Handler handler = new Handler();
 handler.postDelayed(new Runnable() {
 @Override
 public void run() {
 loginClick();
 }
 }, 300);
